
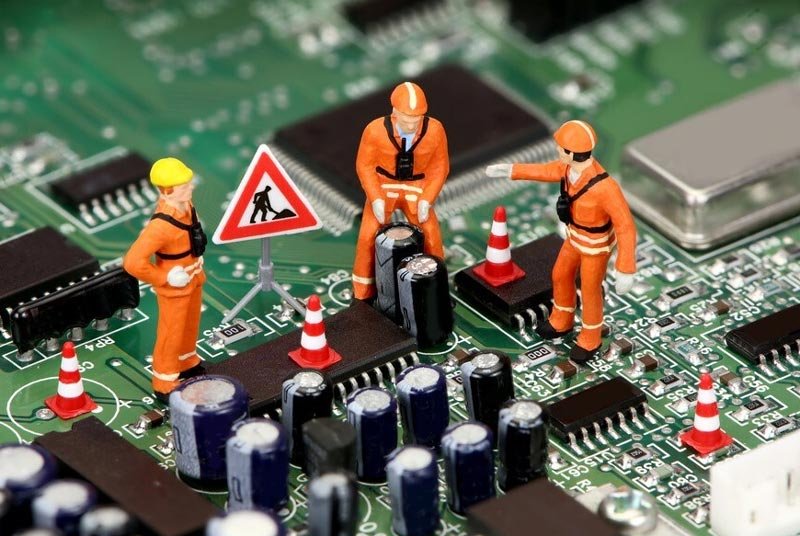
We will learn How to Install a New Motherboard properly in the system unit. The motherboard is one of the most important and essential parts of a computer. Almost all the components of the PC are connected to the motherboard, so it is very useful to know how to install the motherboard in the system unit.
It must be replaced when upgrading an old computer or assembling a completely new computer. After reading this article, any inexperienced user will learn how to install it in just a few minutes.
Installing Motherboard: Step 1.
You need to remove the cover from the computer case. If your device has two side covers, remove both. This is done so that access to the motherboard is free, and the removal and extension process is more accessible. It is also easy to remove the panel from the case from the board.
This will simplify the installation process, saving you the hassle of working in a weird position. But it should be noted that not all computer cases are equipped with removable panels.
Before you can manually install the motherboard in the system unit, you must reset the operating system and driver settings. This is due to the fact that replacing such an important component means building a new system with new spare parts.
You cannot install a new motherboard without formatting the system drives and reinstalling all the software. When removing the cover of the system unit, it is important not to eat the fixing bolts. It is best to keep them in a small box.
Board Installation: Step 2.
Before installing the motherboard in the system unit, make sure you have electrical protection. This is due to the fact that the human body has a property that collects static electric charge, which can overload the internal elements of the short circuit or system unit. You can remove the charge by touching tap water. You can also wear an anti-static wrist strap to keep your luggage safe and stable.
Board Installation: Step 3.
A motherboard usually comes with a connector board, which is placed on the back of the system unit case. Thanks to this panel, the user can connect monitors, mice, keyboards, and other peripherals. The standard board must be replaced with a new one. That’s the decent thing to do, and it should end there.
Click on the four corners of the separate panel. When you insert it into the body, click the feature, which makes it clear that the panel is fixed.
After installation, you need to check the correct position of the front connectors, comparing them to the motherboard connectors.
Next step: you need to find racks that prevent the motherboard from touching the system unit case (another function is additional cooling). The board must come with its own rack, which can be installed if they are not available.
There should be no problem installing the rack. You need to meet the holes of the stands on the motherboard and the stand itself on the case. Before tightening, make sure all posts are in place. Due to the differences between the manufacturers of the walls and the motherboards, the holes may not match, so it is recommended to fix the rack as much as possible.
Board Installation: Step 4.
We understand How to Install a New Motherboard in the system unit on the rack. The connector must be attached to the connector board before tightening the bolts. A few tips:
- You do not need to tighten the bolts
- When installing the motherboard, you cannot use an electric screwdriver.
- It is best not to use non-metallic fasteners (or you may need to put cardboard pads under them).
When the bolts are installed in the rack, you can start assembling the accessories:
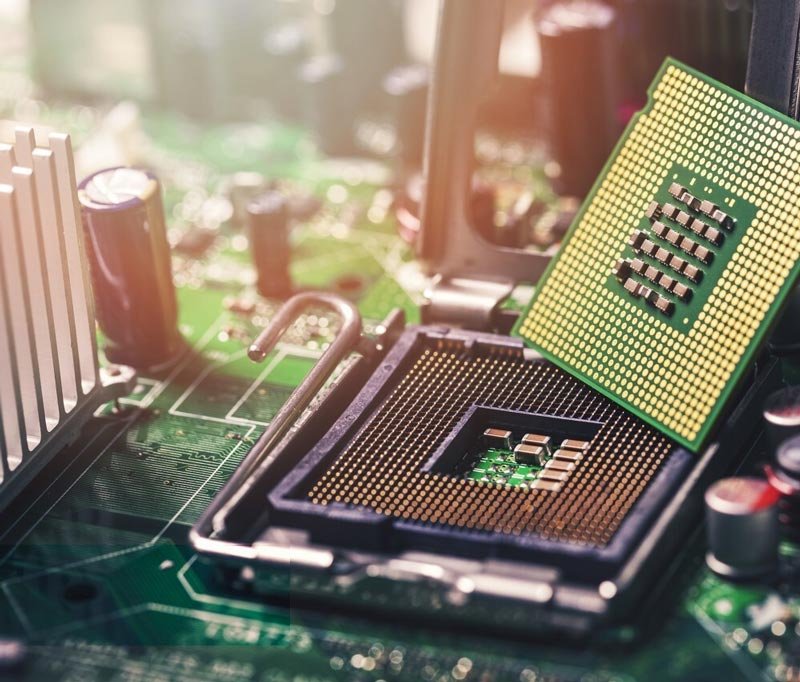
- Processor
- Ram
- cold
It is best to do this at this stage, as it will only hurt later.
Board Installation: Step 5.
At this point, you can connect the manpower to the computer. If you have forgotten which PIN connectors are inserted, check with the instructions or manually. Then you need to add buttons and gestures on the front panel of the case. For this, the relevant wires are connected to the relevant contacts of the board. These include:
- On and off buttons
- Restart button
- HDD power and load indicators
- Speaker.
Also, connect the USB ports to the pins labeled on the motherboard. Next, attach the cooler to the processor and case with the power contacts that have the required number of metal contacts. Install the hard drives in the chassis rack and use the SATA cable to connect the connectors. An essential component is the video card. It must be inserted into a suitable slot.
To make it easier to replace the components next time, it is best to tie the wires together, and dividing the wiring inside the case. After all the work is done, close the system unit cover and close the bolts in the slots. But how to install the motherboard in the ASUS system unit? The installation process for ASUS motherboards is almost the same as described above.
How to Install a New Motherboard: Useful tips.
- To the most frequently asked questions about installing a motherboard in a system unit without protection, experts answer that safety is a prerequisite for observing measures to protect the health and life of the installer.
- It is important to follow the instructions in the order shown.
- Often, when buying a new motherboard, the user has to order a new Best Cpu cooler and case.
Replacing the motherboard without reinstalling Windows.
Users of personal computer operating systems have their own preferences and work habits. Some use standard Windows applications with default settings. For other users, it is important to personalize the operating system interface, using a large number of applications and programs with personal settings.
Reinstalling Windows removes the interface as required. Therefore, users are not eager to “demolish” the old operating system. However, progress is constantly being made, “hardware” is rapidly becoming obsolete and it is time to replace some components.
And if the RAM, graphics adapter, power supply or processor can be replaced without installing a new system while preserving the integrity of all information and Windows settings, in case of failure or update of the motherboard and hard drive, you Can’t avoid installing new OS.
Windows 7 recovery in case of “motherboard” failure
However, it is not always possible to prepare for a “painless” motherboard replacement. Sometimes there is a sudden hardware failure, and it is no longer possible to boot the working system.
In this case, a special program ERD-Commander will help, which can be easily downloaded on the Internet, and then burned to a CD. After installing the new motherboard, follow the step-by-step instructions:
- Boot from a pre-recorded disk.
- Select “ERD Commander 6.5 Windows 7” from the menu.
- In the popup window, click “No” when asked about the connection to the network.
- We answer “yes” to the program’s request to reassign drive letters.
- We identify our Windows 7, click Next.
- We look forward to seeing automatic solutions to our problems.
- In the “System Recovery Options” window, select the smallest item “Run various MSDaRT recovery tools”.
- Next, we call the registry editor.
- Find the “Mounted Devices” branch and delete it.
- Go to the “HKLM in \ SYSTEM \ CurrentControlSet \ services” branch and change the values in the Start parameter to “0”.
Requirements for saving Windows settings
To protect yourself from possible failure when performing the motherboard replacement procedure, you must have a copy of the installed system. Today there is a huge variety of software that can be used to create rescue disks with older operating systems.
To deceive the system when replacing the motherboard, all drivers must be removed. However, the main problem when changing the “motherboard” is the incompatibility of the drivers, and the most complex is the ATA / SATA controller.
Windows has a special program (Sysprep) to clear unique data from the system, using which you can replace the motherboard without any hassle. Particular attention should be paid to the fact that this program should be run before replacing old components.
Therefore, we can start deleting data using the Sysprep utility. To call the program, you must simultaneously press the “One + R” keys, in the window that appears, type the address: “C: \ windows \ system32 \ Sysprep \ sysprep.exe” and the “ok” button. Click.
After the Program Settings dialog box appears on the monitor, you need to manipulate the following.
- In the “Steps to Clean System” menu, select the item “Go to System Welcome Window (OOBE)”
- Check the box “Ready to use”
- In the menu “Shutdown Options” indicates “Shutdown”.
- Press the “OK” button.
The computer will shut down automatically as soon as the utility performs all the necessary functions. The next step is to replace the motherboard and start the computer with new hardware.
The process of changing the board.
When you first boot, Windows will ask for your username. You will need to create a new account, which you can easily delete later, and you will use your old data. In addition, the system itself installs the necessary drivers or prompts the user for those that will not be in the database.
The only downside to this method is reactivating Windows, as the operating system is sometimes connected to pre-installed hardware.
Conclusion
I hope this guide on How to Install a New Motherboard will help you to do all the work quickly next time.
